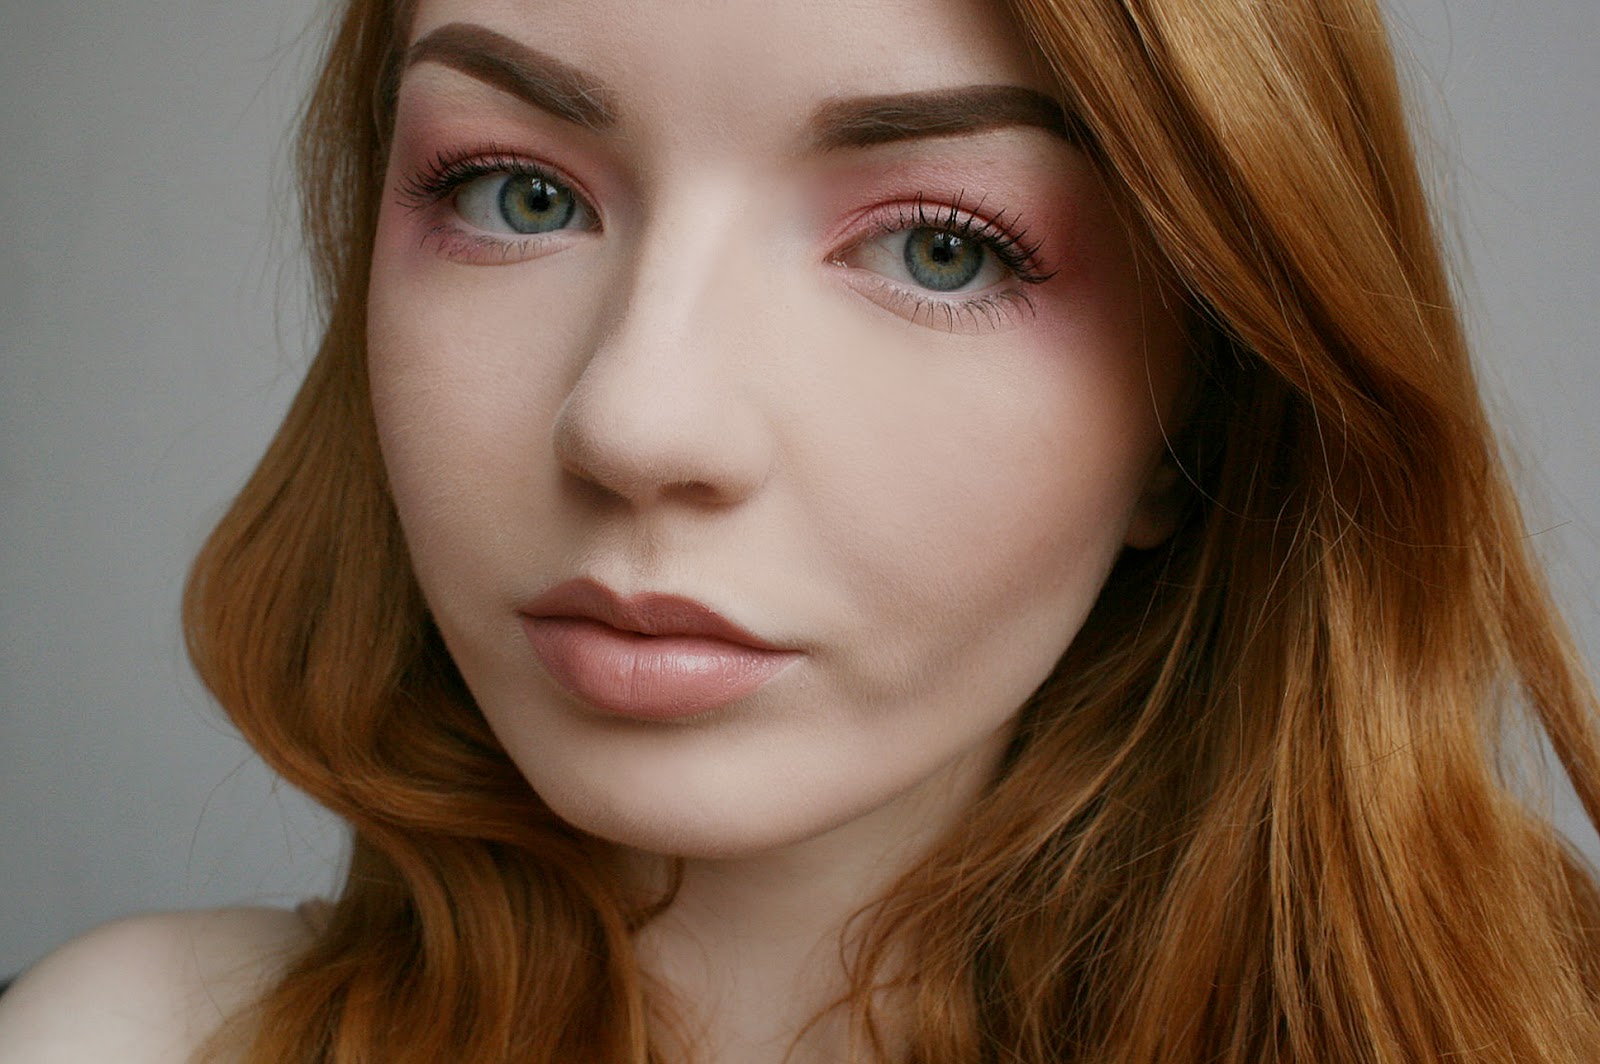
Before (no face
make-up) / After (Smashbox Photo Finish Primer and Collection Lasting
Perfection Concealer)
make-up) / After (Smashbox Photo Finish Primer and Collection Lasting
Perfection Concealer)
Happy Friday all! I was going to post this
review next week, but I decided to do it earlier in case you want to run to
your nearest Boots or Superdrug over the weekend to pick up this product! It is
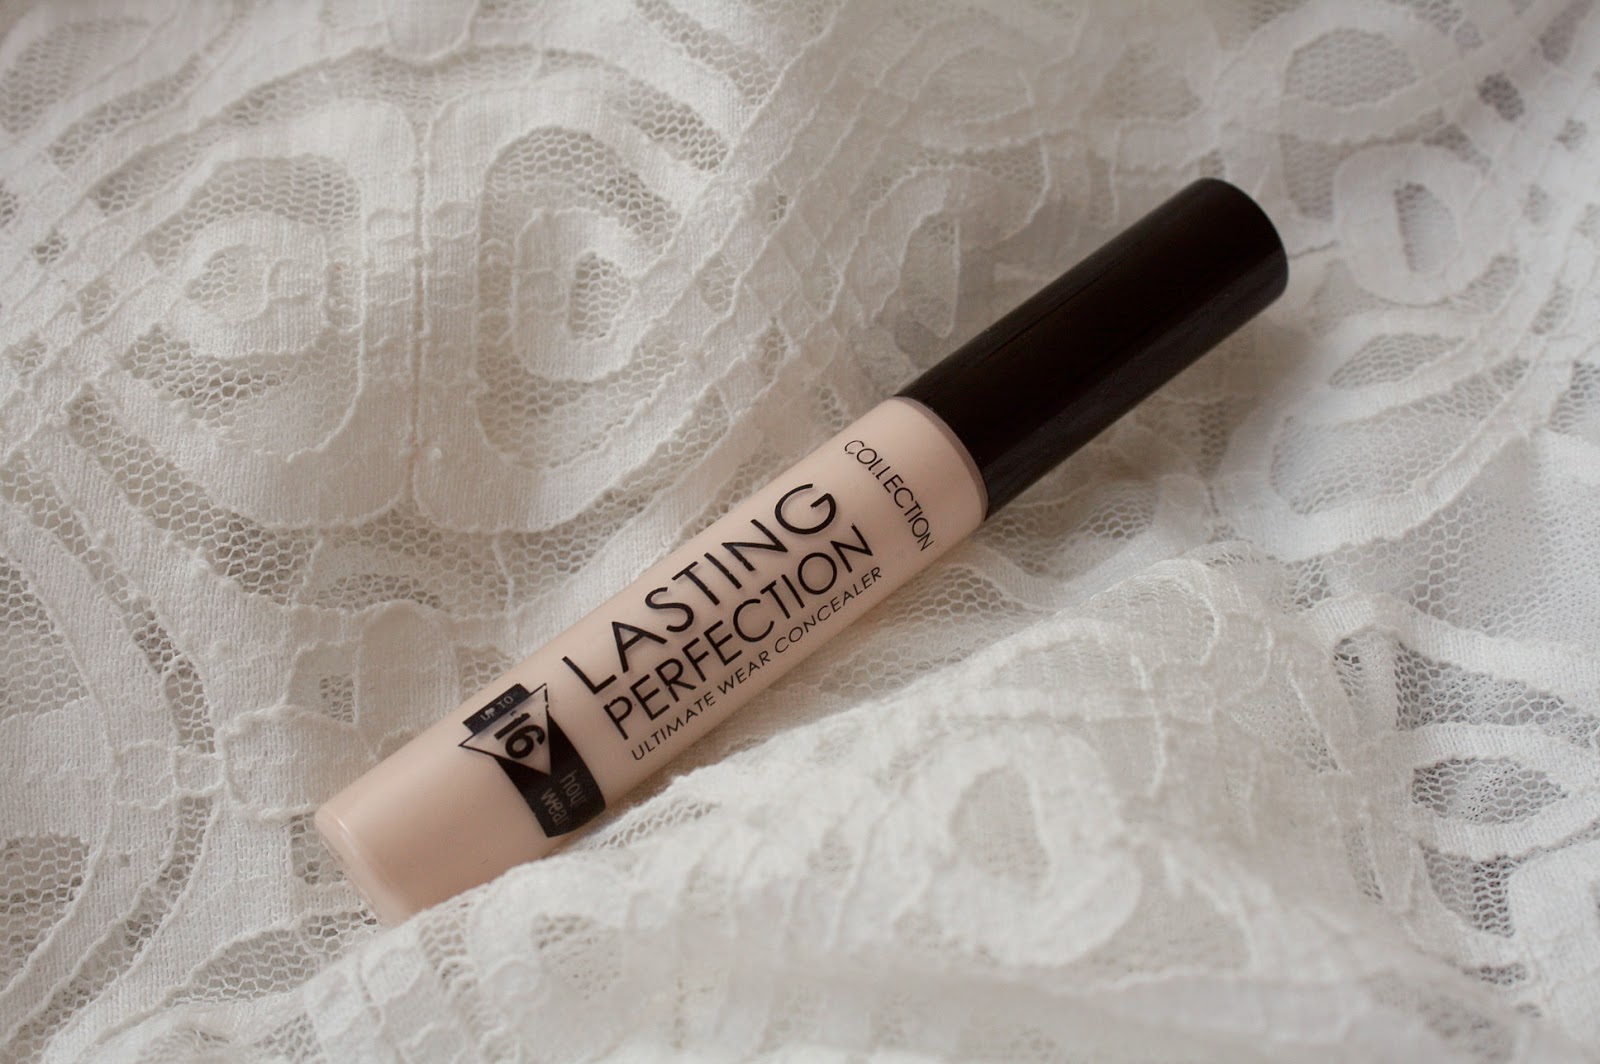
the Collection Lasting
Perfection Concealer, it costs £4.19 and it’s undoubtedly one of the best
(if not the best) undereye concealers I’ve ever used. I have seen a few
bloggers speak about it before, but when I posted on my Instagram many of you were keen for a review
regardless, so here goes…
Lasting Perfection is definitely a heavy
coverage concealer. It’s liquid rather than creamy like the Mac Studio Finish
Concealer I coveted in my everyday
make-up post, and it is easy to apply with the lip-gloss style applicator,
then blend either with your fingers or a brush. A couple of people on Instagram
expressed concerns that this concealer can look cakey – I think that the best
way to avoid this is to apply it with a brush as it’s easier to achieve even
coverage. Start with a little bit of concealer and build on it, buffing it as
you go! I personally use my fingers sometimes, but when I use a brush it is
either the Real Techniques pointed foundation brush or Real Techniques setting
brush.
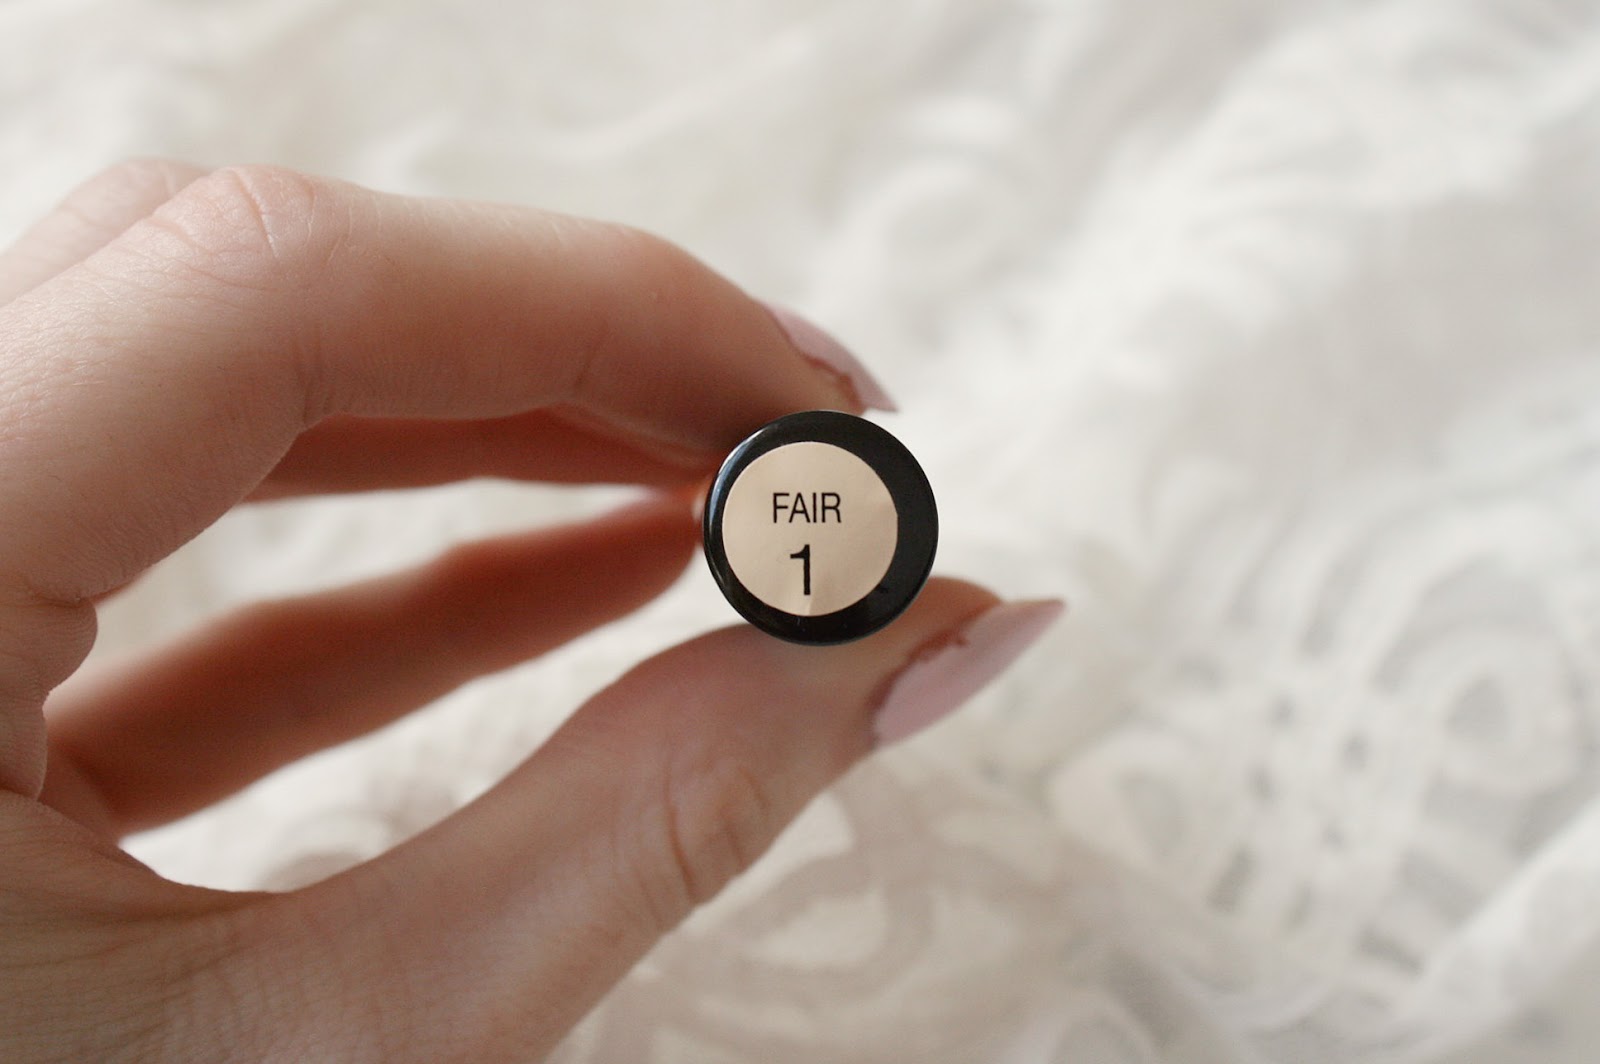
It comes in four shades, and I use shade 1
‘fair’. ‘Fair’ has a yellow undertone (which is better suited than pink for
balancing out blue tones of dark circles), and isn’t a perfect match for my
skin tone by any means, however once blended with foundation it doesn’t make a
difference, and it’s nice and bright.
‘fair’. ‘Fair’ has a yellow undertone (which is better suited than pink for
balancing out blue tones of dark circles), and isn’t a perfect match for my
skin tone by any means, however once blended with foundation it doesn’t make a
difference, and it’s nice and bright.
I apply it in a triangle shape under my
eye (see photo 2) as this covers dark circles and brightens my whole face more
effectively than just dabbing it in a semicircle shape. In photo 3 below the
concealer looks slightly odd because I am wearing it without any foundation,
but when worn with full make-up it blends very well, and when set with powder
lasts all day! Additionally, because it isn’t creamy like Mac Studio Finish I
find that mascara doesn’t run into it throughout the day.
After using Lasting Perfection on a spot a
couple of days ago, I would say that I still prefer Mac Studio Finish for spots
or other blemishes which change the texture of my skin, but I’m absolutely won
over by Lasting Perfection for dark circles! I’m not sure how it would take to
dry skin, but for £4.19 it can’t hurt to find out! As it stands, I can’t
recommend this concealer enough!
Let me know what you think of Lasting
Perfection. Will you be purchasing it?
Perfection. Will you be purchasing it?


