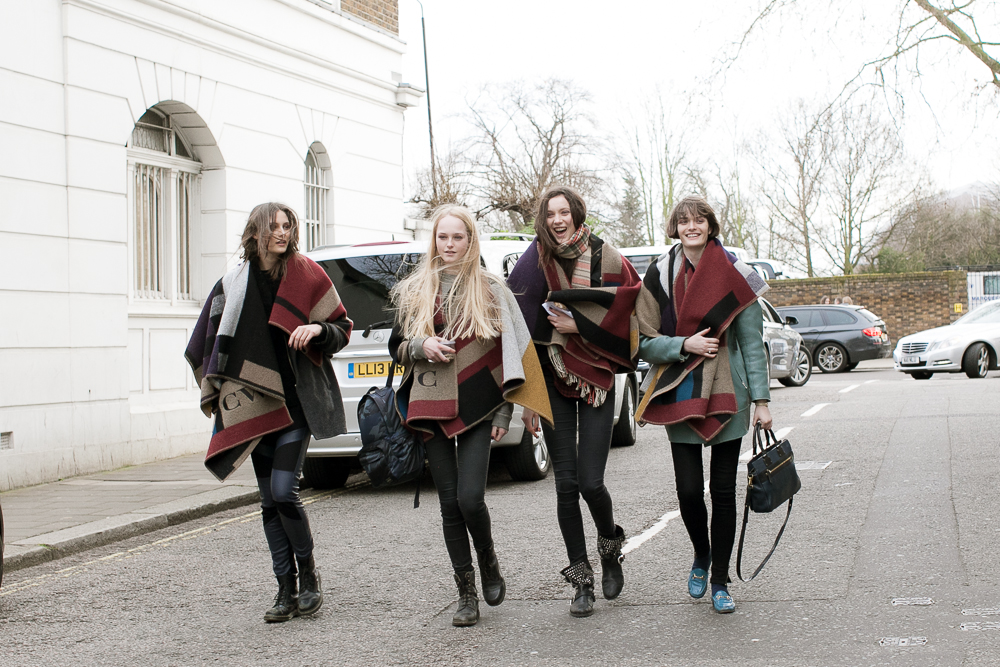
Image from Harper’s Bazaar
Capes are hardly a new fashion phenomena, but with the spotlight at Burberry AW14 shining on their ultra cosy blanket capes it was inevitable that come September we’d all be wanting one. I bought my first (although likely not my last) blanket cape for the season last weekend at Topshop – see above! I’m looking forward to sharing it styled up in outfit posts, I think they’re so easy to wear and I’d put money on the fact that they’ll be absolutely everywhere to the point of overkill at fashion week. I managed to nab the last one of these right off the display model, but it’s available on the website here now. I’ve also created a mini wishlist of some of my favourite affordable blanket capes which you can buy right now. I have my eye on the M&S one in particular, and have also seen some lovely oversized scarves in H&M. Which is your favourite? Have you picked up, or will you be picking up a blanket cape for AW14?
1 – Next Grey Check Cape £25
2 – Marks and Spencer Checked Wrap, £45
3 – Jigsaw Multi Block Poncho, £129
4 – Warehouse Space Dye Cape, £35
5 – Sheinside Cape (khaki) £12.95
6 – Sheinside Cape (blue) £12.95
7 – Sheinside Black Cape £36,16
8 – Topshop Aztec Print Cape £32
If you don’t see one you like but know a good fabric shop and fancy getting crafty, check out this really great DIY tutorial I found on stylefarm.au:
- Select a piece of fabric to your taste. Preferably a wool or wool blend. Fabric comes in many widths, the most common being 115cm or 152cm. (If you are tall, choose the 152cm). Purchase the same length as width (or as close to).
- Lay the fabric on a flat surface. To ensure your fabric is square, fold one corner over and ensure the edges are perfectly aligned.
- Remove any excess fabric.
- You now have a perfect square and are ready to begin!
- Using tailors chalk and a ruler (or similar) mark the centre of the fabric. (You may choose to fold the fabric in half and half again to do this with ease). Mark a line from the centre of the fabric to one corner.
- Using sharp scissors, cut along your line from the corner to the centre.
- Select a complimentary of contrasting thred and blanket stitch the entire perimeter of the fabric. If you have an over locker, you can do this easily by selecting the ‘picot’ edging stitch.
DIY image and instructions from stylefarm.au


